|
|
|
|
Fur tutorial : Fur basicsThis tutorial is part of a series on using the plugins I've published for AC3D. Get the fur plugin here. The tutorial is divided into two parts - Making grass (this page) and Making hair.
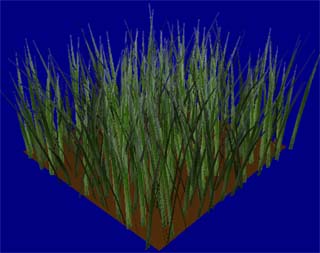
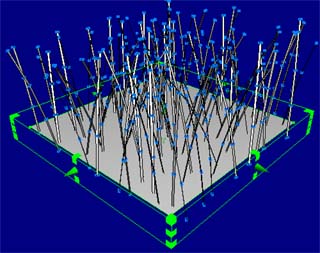
Making grassThis tutorial will show you how to make grass like this in AC3D using just the fur plugin and a few steps.
You can download the texture in this example here.
Step 1 : PreparationCreate a rectangle in an empty scene. For this tutorial, I set the "Size to" settings in the control panel to 1x1x1, and clicked "Size to". I then set the "Move to" settings to 0,0,0, and clicked "Move to". The size is important if you use the exact numbers I used in this tutorial, but you can size your surface to any size you'd like. The surface we have just created is the ground for our grass. The grass will grow out of the ground's "normal" direction, so make sure the normal on the rectangle is pointing upward (or, positive along the Y axis). To ensure it is pointing upward, select "3d | Normals" or "Ortho | Normals" from the main menu. A purple line will appear denoting the "normal" direction of the rectangle. If it is not pointing "up", select "Surface | Flip normal" so that it is pointing up. You can disable normal viewing by selecting "3d | Normals" or "Ortho | Normals" from the main menu.
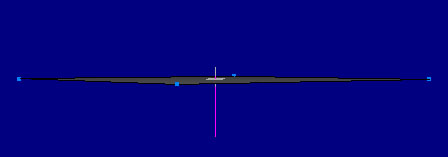
Normal facing "wrong way" for our purposes
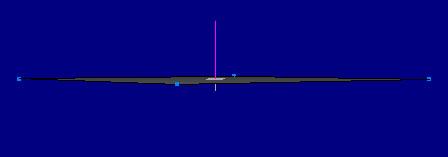
Normal facing "correct way" for our purposes
Step 2 : Creating the grassAssuming you have installed the Fur plugin, make sure the rectangle is selected and open the "Fur..." menu item under the Tools menu. If the rectangle was selected, you will immediately see some new "fur" on the rectangle (if you did not select the rectangle first, select it now and check the "Realtime updates" checkbox in the Fur interface). This is simply a preview. While the preview is active, you cannot interact with AC3D except through the plugin interface. If you want to rotate/move the view to get a better view of your rectangle, simply uncheck "Realtime updates" (the sample fur will disappear), make your interface changes, then check "Realtime updates" again. With the preview enabled, make the following changes:
When you are satisfied with the grass, click "Create fur". This creates and selects the fur, and pulls you out of realtime mode. We're done with the fur window, so we can close it now.
Step 3 : TexturingAll that is left is to texture the grass blades. With the blades selected, make sure you are in Object mode and select "Object | Texture | Load texture...". Find the grass texture and load it. The grass texture has a transparency around the blade, so you should get pointed blades of grass to replace the blocky rectangles. Add a brown color to the rectangle for a ground-like surface, and you're done: |
| All content Copyright © 2006 Dennis Hawthorne, except where explicitly noted supercoldmilk © 2006 Dennis Hawthorne |
||