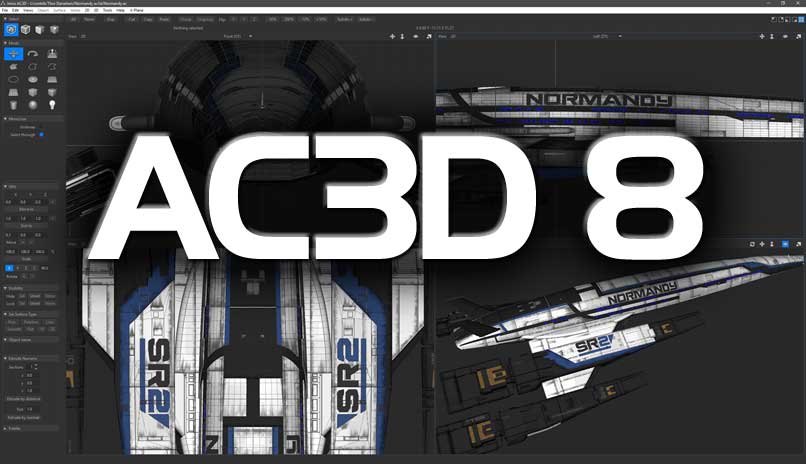
Still with AC3D’s famed ease-of-use, but with a new, smarter and customizable look that makes your models stand out.
Enhanced Rendering-to-Texture
For texture baking and ambient occlusion rendering
Choose what gets rendered with locking and hiding
New Material Editor and upgraded AC3D file format
Add text/comments to named materials
Mac version – ported to Cocoa
Drag and drop model files into AC3D
drop textures from the Finder straight onto an object
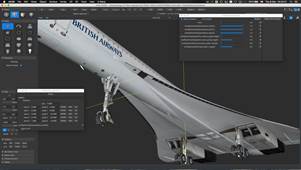
New User Interface
Choose your style
Change the font, and AC3D automatically resizes the UI to accommodate it.
Set the UI colors to suit your own style. Choose a subtle UI setup or go completely crazy!
Go to menu File->Settings->UI
(uses the fonts installed on your system)
Maximize your space
Open up the control panel sections you use the most often and AC3D will automatically reconfigure the space.
Reorder the gadgets
Drag the divider to partition the Control-Panel.
Little helpers
In-field calculations
Finished with a dialog window? press “ESC” on the keyboard to close it.
Auto-repeat – hold down the mouse to repeat the function e.g. these in the TCE.
Swap Middle and Right mouse button functions (pan, zoom) in view windows – File->Settings->General
Enhanced Render-to-texture
The powerful Render-To-Texture Tool, handy for texture baking and creating rendered textures using ambient occlusion has been enhanced to take account of locked and hidden objects.
Now there’s no need to render a whole scene. Hidden objects are ignored and locked objects are treated as in-scene but are not rendered to.
Popup tool-tips have been added to the controls so you can see a detailed description of what each setting does. There are also some additional hints and tips available – hover the mouse over ‘Troubleshooting’.
This release comes with sample scene files so you can check out the texture mapping on the objects to see just what is needed to create your own nicely texture-rendered models.
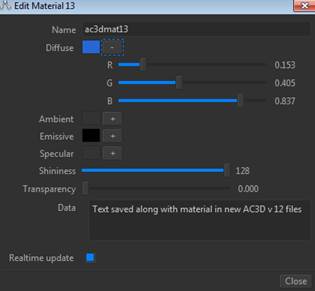
New Material Editor and upgraded AC3D file format
The new version of the AC3D file format includes multiline materials that can have text included (in the same way that objects can have text attached).
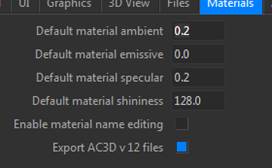
To enable saving of the new format and editing of the new material data, the setting below must be enabled (File->Settings).
Note that by default, this setting is OFF and AC3D 8 will save V11 (0xb) files but in future versions of AC3D, the default will be V12.
The .ac file format is widely supported so for full compatibility for sending .ac files to others, and until other developers have updated their AC3D file loaders, you may want to ensure that “Export AC3D v12 file” is not selected.
New included models
Along with the Render-to-texture examples, you’ll also find the following in the models folder with this release (textures included).
Drakelot’s spider figure
TBD’s Normandy Ship
Other changes
Orth Windows are now referred to as 2D.
Some of the texture-related plugins have been updated so they now add a menu item in a Tools menu within the Texture Coordinate Editor (TCE), rather than on the main Tools menu.
The current view projection (Front/Back/3D etc.) is now set via a pulldown at the top-centre of each view window.
Web-browser-style zooming in views works with Control & +/- keys.
Keyboard focusing is switchable for the views (drag mouse over or click to focus) Settings->Advance->focus-under-mouse
Edit->select-by-name reacts to return and shift+return to select/de-select
New X-Plane plugin
AC3D’s popular support for X-Plane continues with a new version of the X-Plane plugin.
Using normal-maps in X-Plane? Now you can automatically include normal map names in the XPlane .obj files exported from AC3D.
The latest version of the AC3D X-Plane plugin can export texture normal lines in the exported .obj files– just select the option in X-Plane->X-Plane-export-prefs and AC3D will generate a TEXTURE_NORMAL line in your exported .obj file, with a filename formed from the main texture-name but with _normal appended.
To get the new X-Plane plugin for AC3D 8 – see here
AC3D 8 is free if you purchased AC3D or upgraded your license within the last year – just install the new download. To upgrade your license, visit the upgrade center